What is Hugo?
Hugo is a popular, open source static site generator written in Go, known for being extremely fast and flexible. It is used to build websites such as documentation sites, landing pages, and corporate sites by generating pre-built HTML, CSS, and JavaScript files from content written in Markdown.
This very site is built with Hugo! In this guide, I’ll walk you through deploying a Hugo website to an Azure Static Web App using Terraform, which, while more involved than alternatives like GitHub Pages, provides some more practical experience with IaC.
Prerequisites
Before you begin, ensure you have the following set up.
- An Azure account with an active subscription. Make sure it has the Entra ID role
Application Administrator, and AzureOwnerrole on the subscription. - A GitHub account.
- Locally installed tools: Git, Azure CLI, and a code editor.
- (Optional) A custom domain name purchased from any registrar.
Repository Setup
To streamline the process, a GitHub template is provided. This template contains all the necessary Terraform, GitHub Actions, and Hugo boilerplate files.
- Navigate to the GitHub template repository.
- Click Use this template and select Create a new repository.
- Provide a name and optional description, then click Create repository.
- Clone your new repository to your local machine.
Terraform Backend
Before Terraform can manage your Azure resources, we must create a secure, remote backend. This involves running a script to provision an Azure Storage Account for Terraform’s state and a Service Principal for authentication.
- Locate the file
./tools/azure-backend.shin your repository. - Open the file and configure the environment variables with your specific details.
|
|
- Run the script from your terminal. You’ll be prompted to log into Azure.
- After completion, the script will output several important values. Save these, as you will need them for the next steps.
GitHub Authentication
To allow secure communication between Azure and GitHub, you need to create two sets of credentials: a Personal Access Token (PAT) for Azure to update your repository, and GitHub secrets for your workflows to authenticate with Azure.
Create a Personal Access Token (PAT)
- Create a fine-grained PAT on GitHub.
- Grant it the following repository permissions:
Contents: Read and writeWorkflows: Read and writeSecrets: Read and write
- Copy the generated token and save it securely.
Create GitHub Secrets
- In your repository settings, go to
Secrets and variables>Actions. - Create the following secrets using the values from the backend script output and the PAT you just created:
AZURE_CLIENT_IDAZURE_SUBSCRIPTION_IDAZURE_TENANT_IDGH_PAT
Deploy Infrastructure
With authentication configured, you can now deploy the Azure infrastructure using Terraform. This is handled automatically through a pull request workflow.
- Create a new Git branch.
- Open
./infra/variables.tfand edit the default values. For now, leave the custom domain variables unchanged. - Commit your changes and push the branch to GitHub.
- Create a pull request. The workflow will automatically run and show you a
terraform planin a PR comment.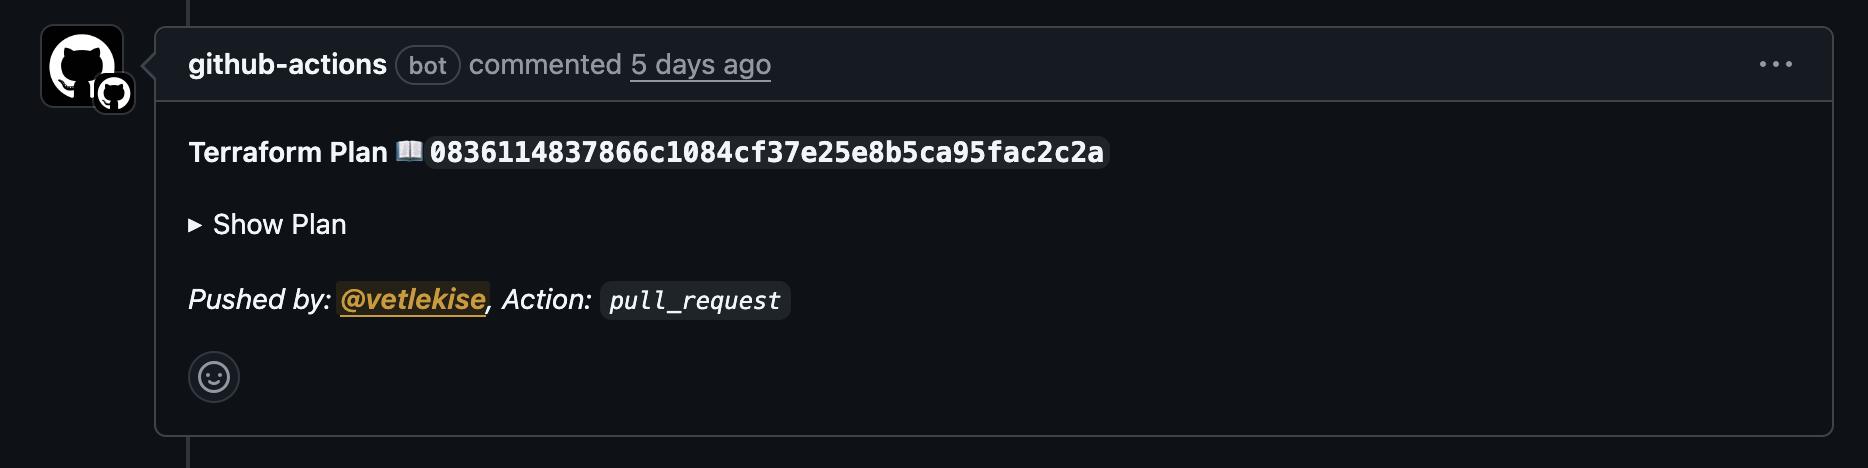
- Review the plan. If it’s correct, merge the pull request to deploy the resources.
- After merging, a new workflow file and a new secret will be automatically added to your repository by Azure.

Deploy Hugo Website
The final step is to configure the deployment pipeline to correctly build your Hugo site from the src directory and deploy it to the new Static Web App.
- Create a new branch, ensuring you’ve pulled the latest changes from
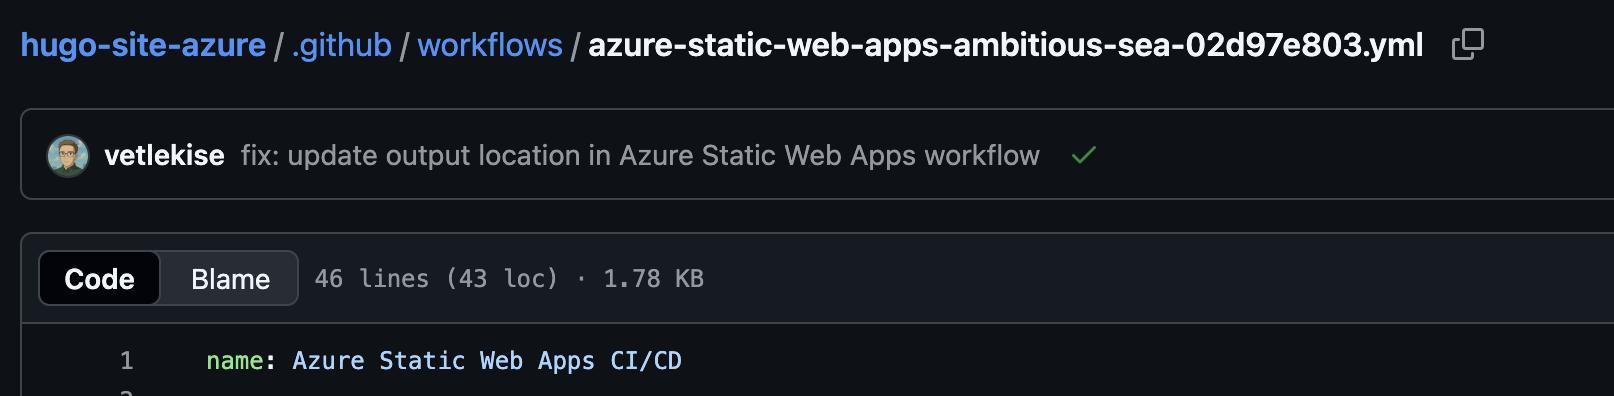
main. - Find the new workflow file at
./.github/workflows/azure-static-web-apps-<RANDOM_ID>.yml. - Modify the file to set the
app_locationandoutput_location.
|
|
- Commit the change, create a pull request, and merge it.
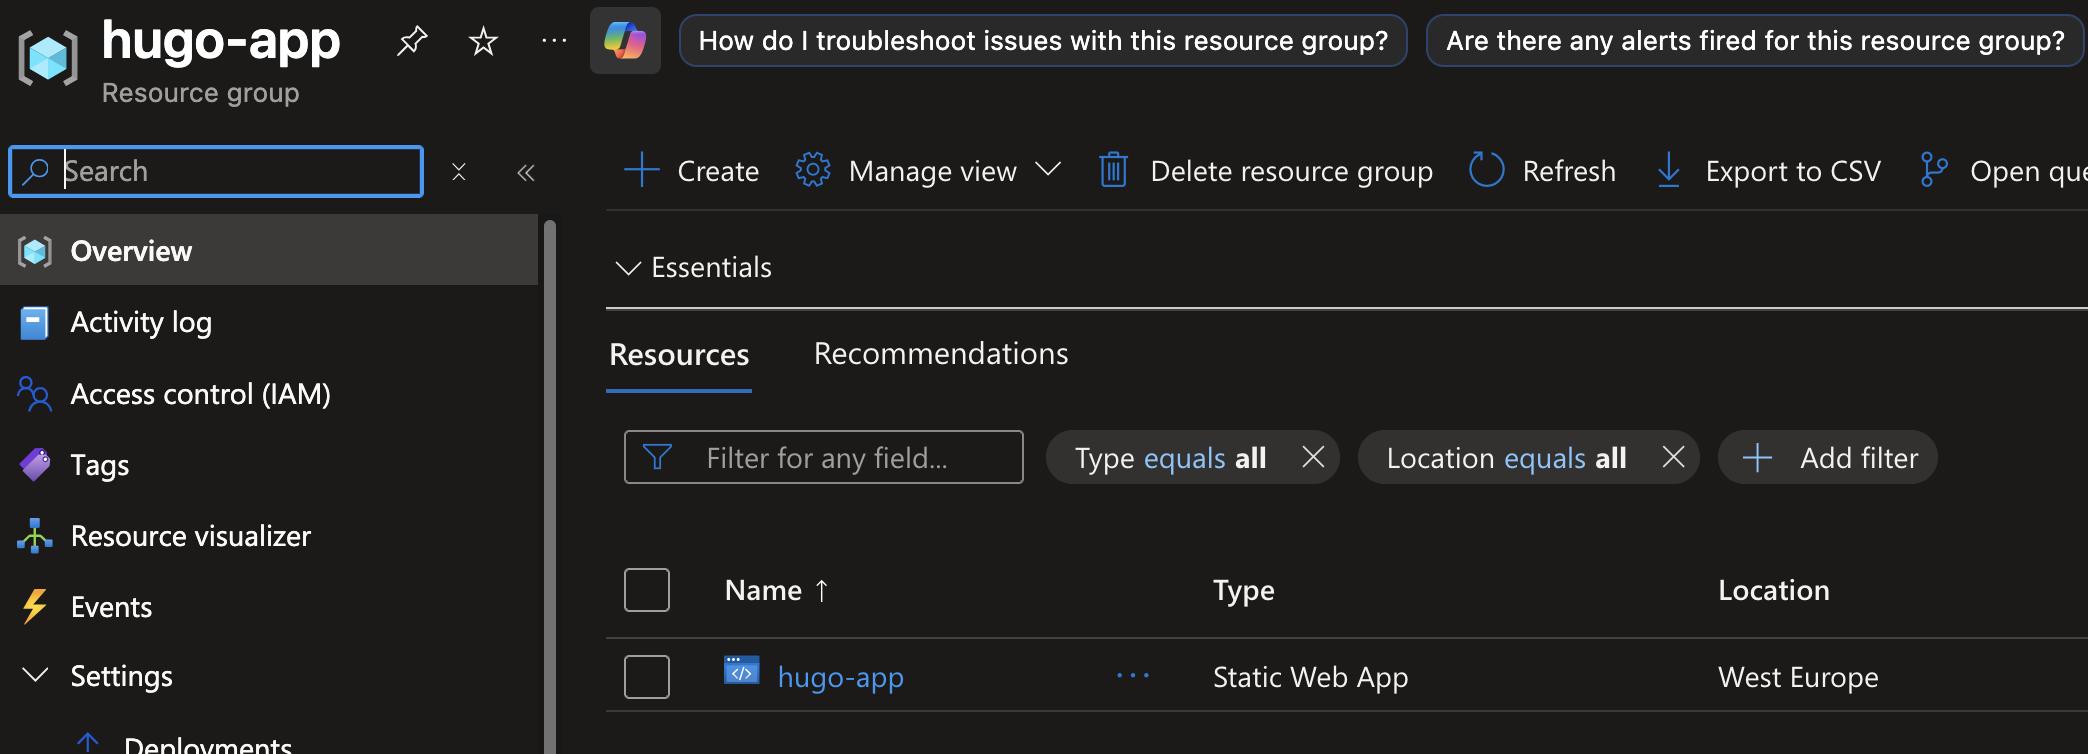
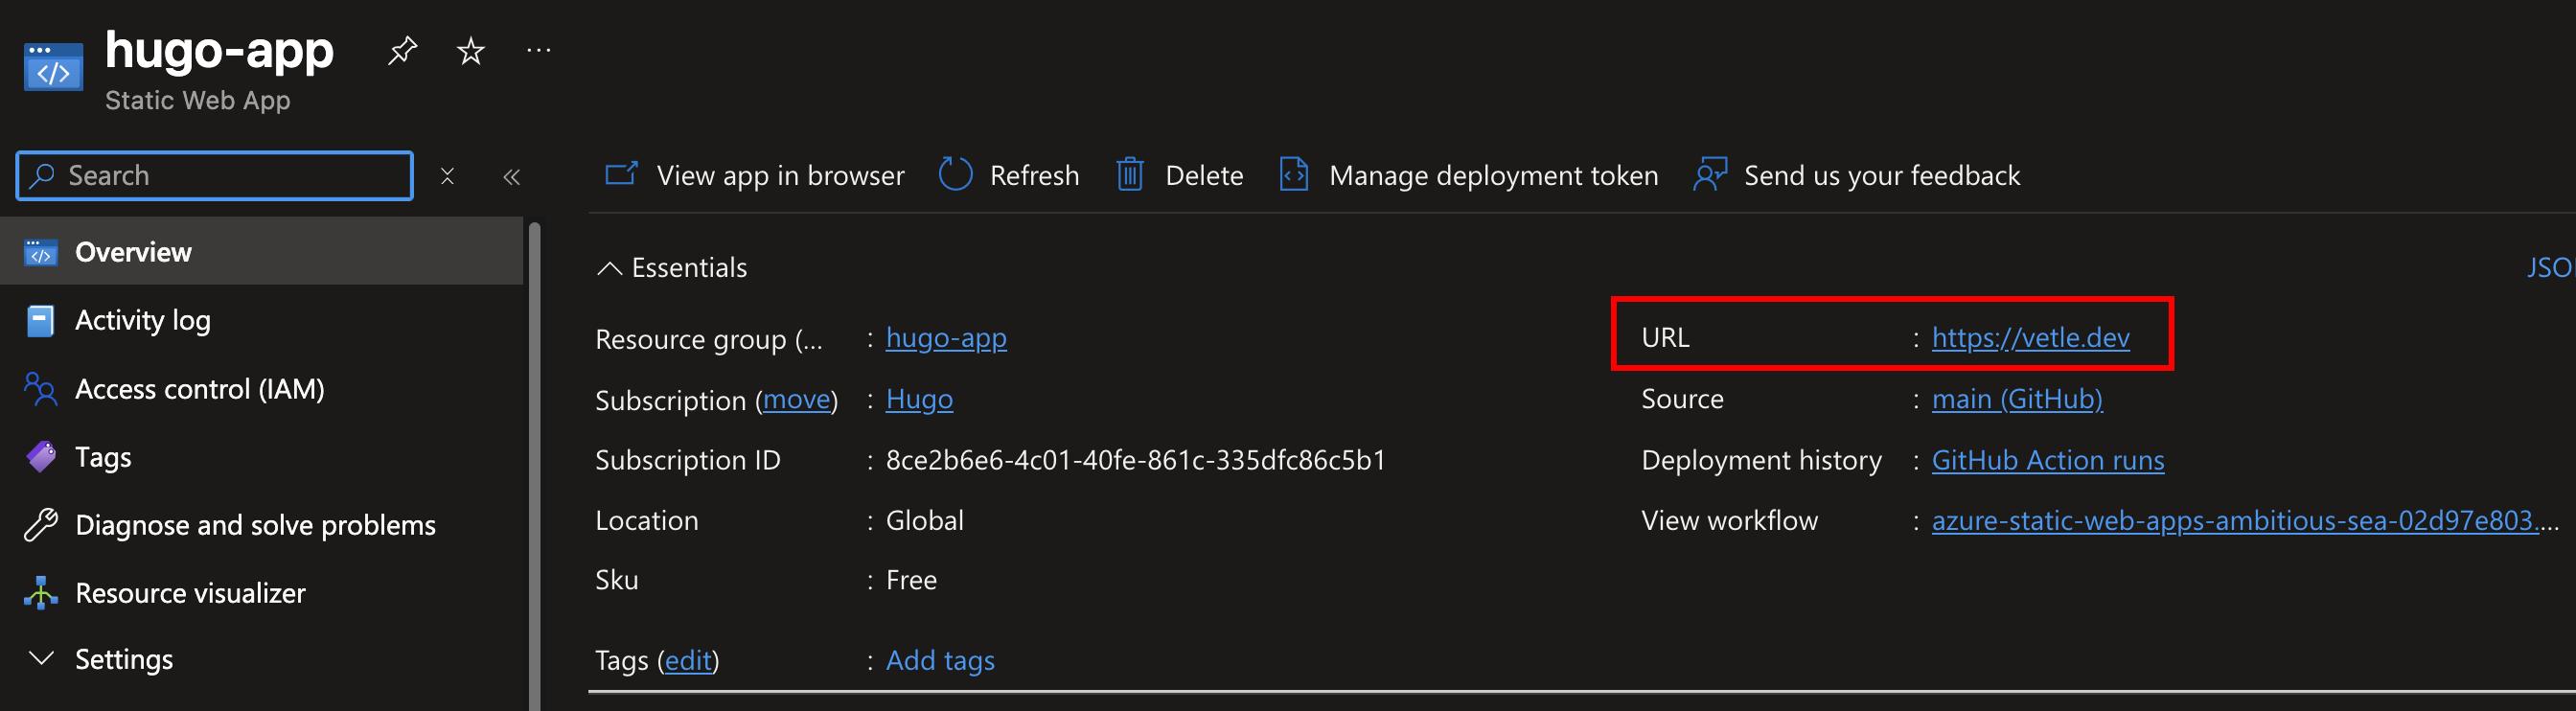
- Once the pipeline succeeds, your Hugo website will be live! Check the Azure Portal for the URL.
Hugo Configuration
Once your site is deployed, you can manage its content and configuration. Here’s how to work with your Hugo site’s structure.
- The
hugo.tomlfile is the main configuration for your site. Here you can add your title, description, and generally change a bunch of settings.- NB! For your domain to work you’ll have to customize the
baseURLto match your domain.
- NB! For your domain to work you’ll have to customize the
./content/page/*contains menu pages, like theAboutpage../content/post/*contains your blog posts. Add a new directory for each post with anindex.mdfile.- At the top of your
index.md file, add YAML frontmatter to configure the post. Here’s an example with most of the possible config:
|
|
- Below the frontmatter, write your content in Markdown.
- Push changes to the
mainbranch to trigger an automatic deployment.
(Optional) Add a Custom Domain
If you wish to use your own domain, you’ll need to update the Terraform configuration and then validate the domain in the Azure portal.
- In
./infra/variables.tf, setadd_custom_domainto true andcustom_domainto your domain name. - Commit, push, and merge these changes via a pull request.
- In the Azure Portal, find your Static Web App and go to the
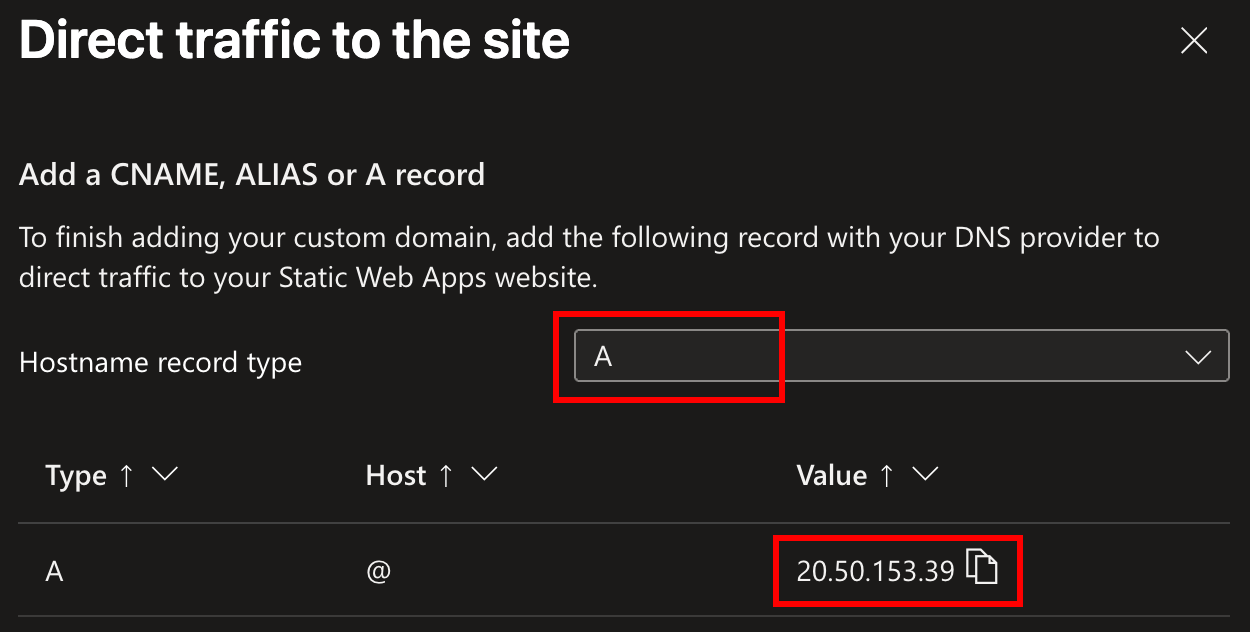
Custom domainssection. - Follow the instructions to add a
TXTrecord (this is already created) and anArecord to your domain’s DNS settings at your registrar.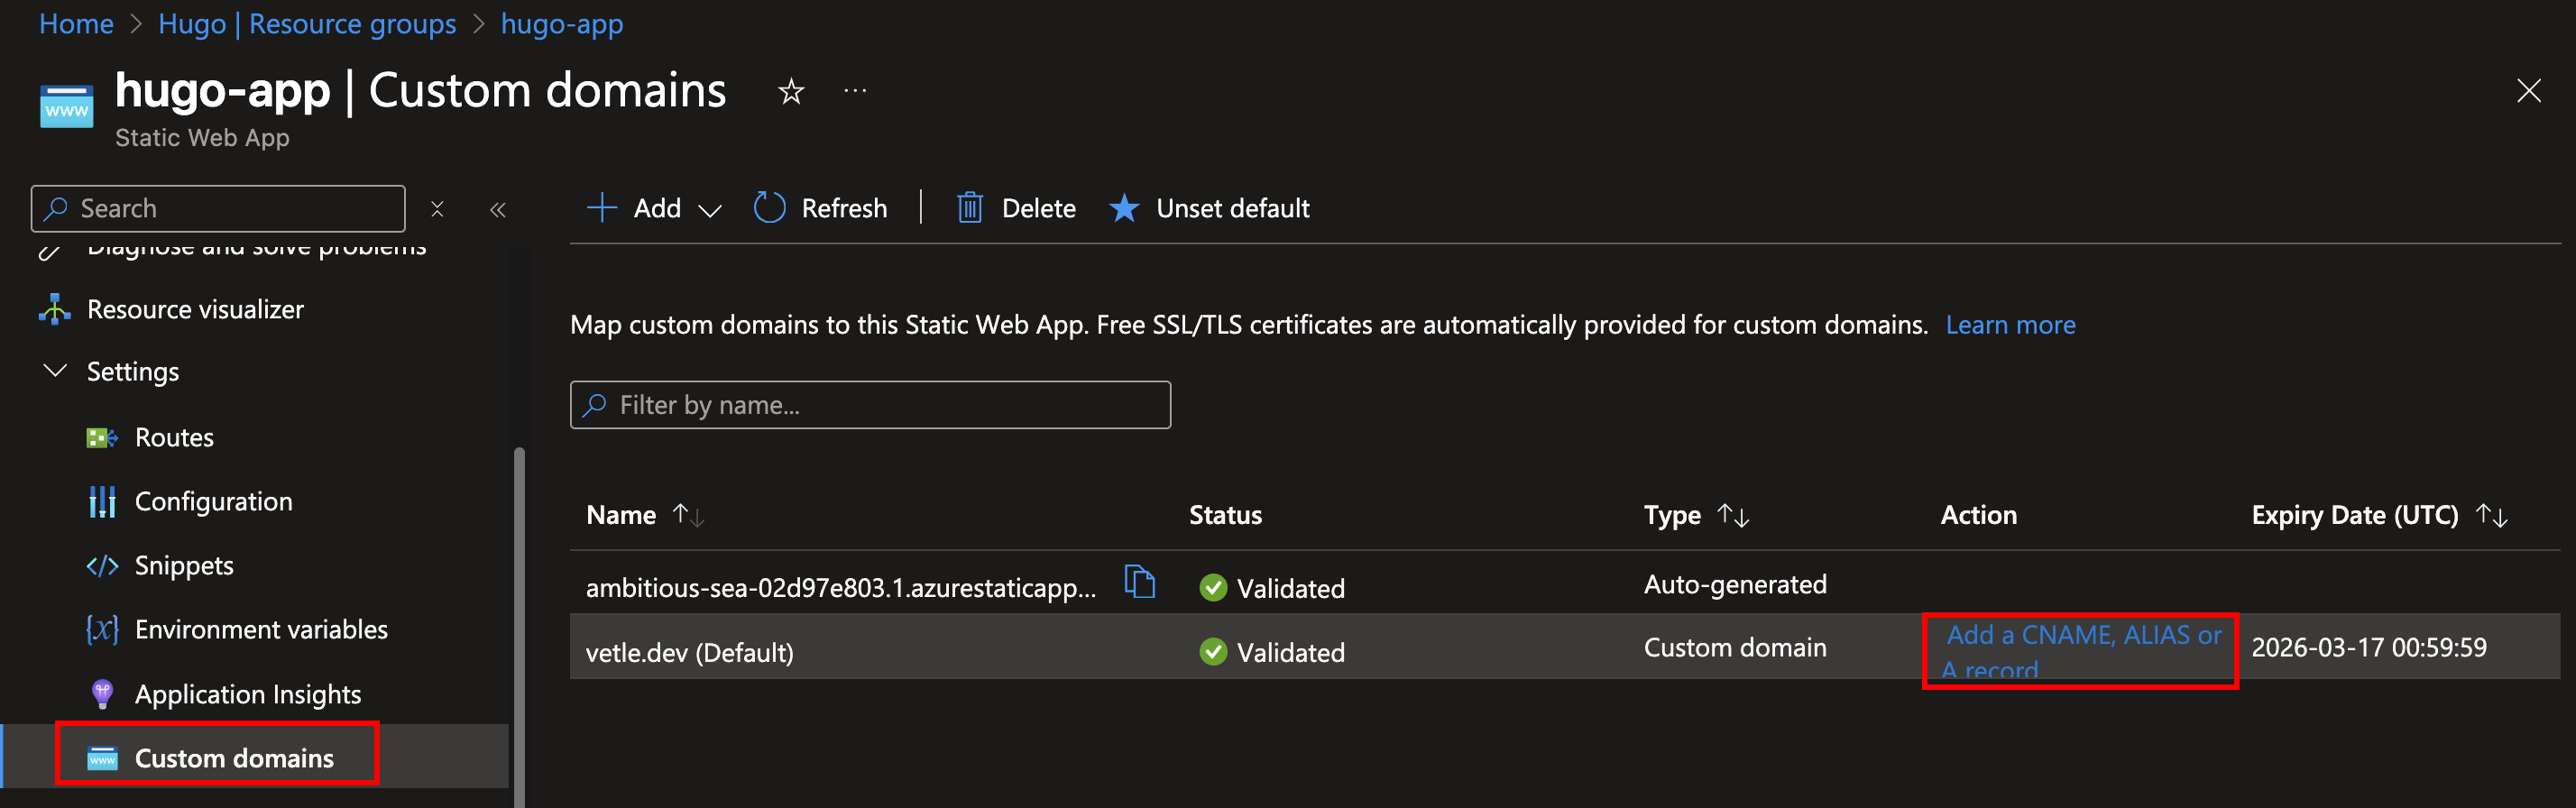
- This is how the DNS configuration should look like at your registrar. This example uses Cloudflare:

- Wait for DNS propagation. This may take a few minutes to a few hours.
Resources & Links
For more detailed information on Hugo and the theme used in the template, please refer to the official documentation.